Create your Zwely account
Create the account you will use to manage products, buyers, delivery, and integrations.
Getting started should be quick. Zwely does not ask you to connect Stripe, upload files, or make every product decision before you have an account. Create the account first, then you can move through setup one piece at a time.
Use the email address you would naturally use for your business. You can change buyer-facing reply-to details later, but this account email is still important for sign-in and account recovery.
Before you start
- Use an email inbox you can access. Account notices and password resets depend on it.
- Have a secure password ready before you start.
Create the account
-
01
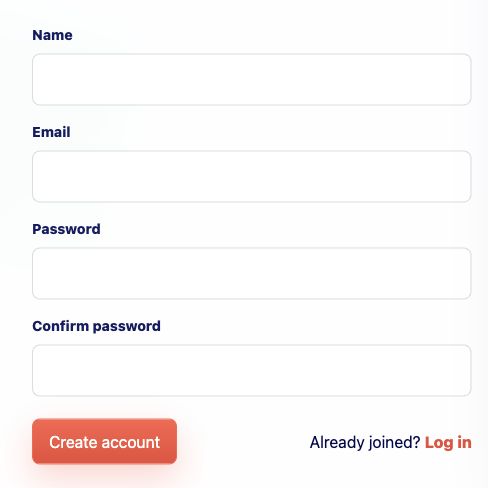
Fill in the signup form
Enter your name, email, and password. That is enough to create your merchant account; the product, checkout, and delivery details come next so you do not need to have everything perfectly prepared here.
-
02
Create the account
Choose Create account. Zwely takes you straight into the app so you can begin setting up your first product while the context is still fresh.
-
03
Start with one real product
Use a real product if you can, even if the copy is rough. The wizard is much easier when the title, price, file, and delivery email all belong to something you actually plan to sell or give away.
Good to know
- You can build products before connecting Stripe.
- Zwely has no monthly charge for standard accounts. Paid checkout sales include Zwely's 5% application fee.